Most pool construction content is about the pool. This post is about the other thing people actually worry about: what happens to my yard, for how long, and how does a 23,000-pound concrete pool get from a factory in New Hampshire to a hole in Parker County without drama?
Short answer: the building happens in the factory, so the on-site work is placement, not construction. Here is the whole sequence, in the order it happens, with the numbers we plan around. We install Soake precast plunge pools across DFW as a Soake Pools Preferred Partner, and this is the exact process we scope on every job.
What shows up on the truck
A Soake pool arrives finished. Not “shell finished,” finished finished: cast, waterproofed, hand-tiled, plumbed, and wrapped in plastic for the ride. The concrete is rebar-reinforced, high-impact, and hydrophobic, with waterproofing mixed into the pour itself plus a membrane applied under the tile. The interior tile is set with epoxy thinset and epoxy grout in a climate-controlled plant, which is the boring-sounding detail behind the least boring number in the spec sheet: a 25-year tile-bond warranty backed by Laticrete.
Two more things ride along on the truck that matter later:
- Four lifting rings, two cast into each long wall, which is how the pool gets picked.
- An ETL listing sticker on the side of the shell, which is what your city inspector looks for before backfill. More on that below.
The big number: a fully built 7’×13’ pool weighs roughly 23,000 pounds. That single fact drives most of the install planning, which is why we start every DFW pool project with a free crane access and site assessment before anyone signs anything.
Step 1: site prep (before the truck ever leaves New Hampshire)
While the pool is in production, we get the yard ready.
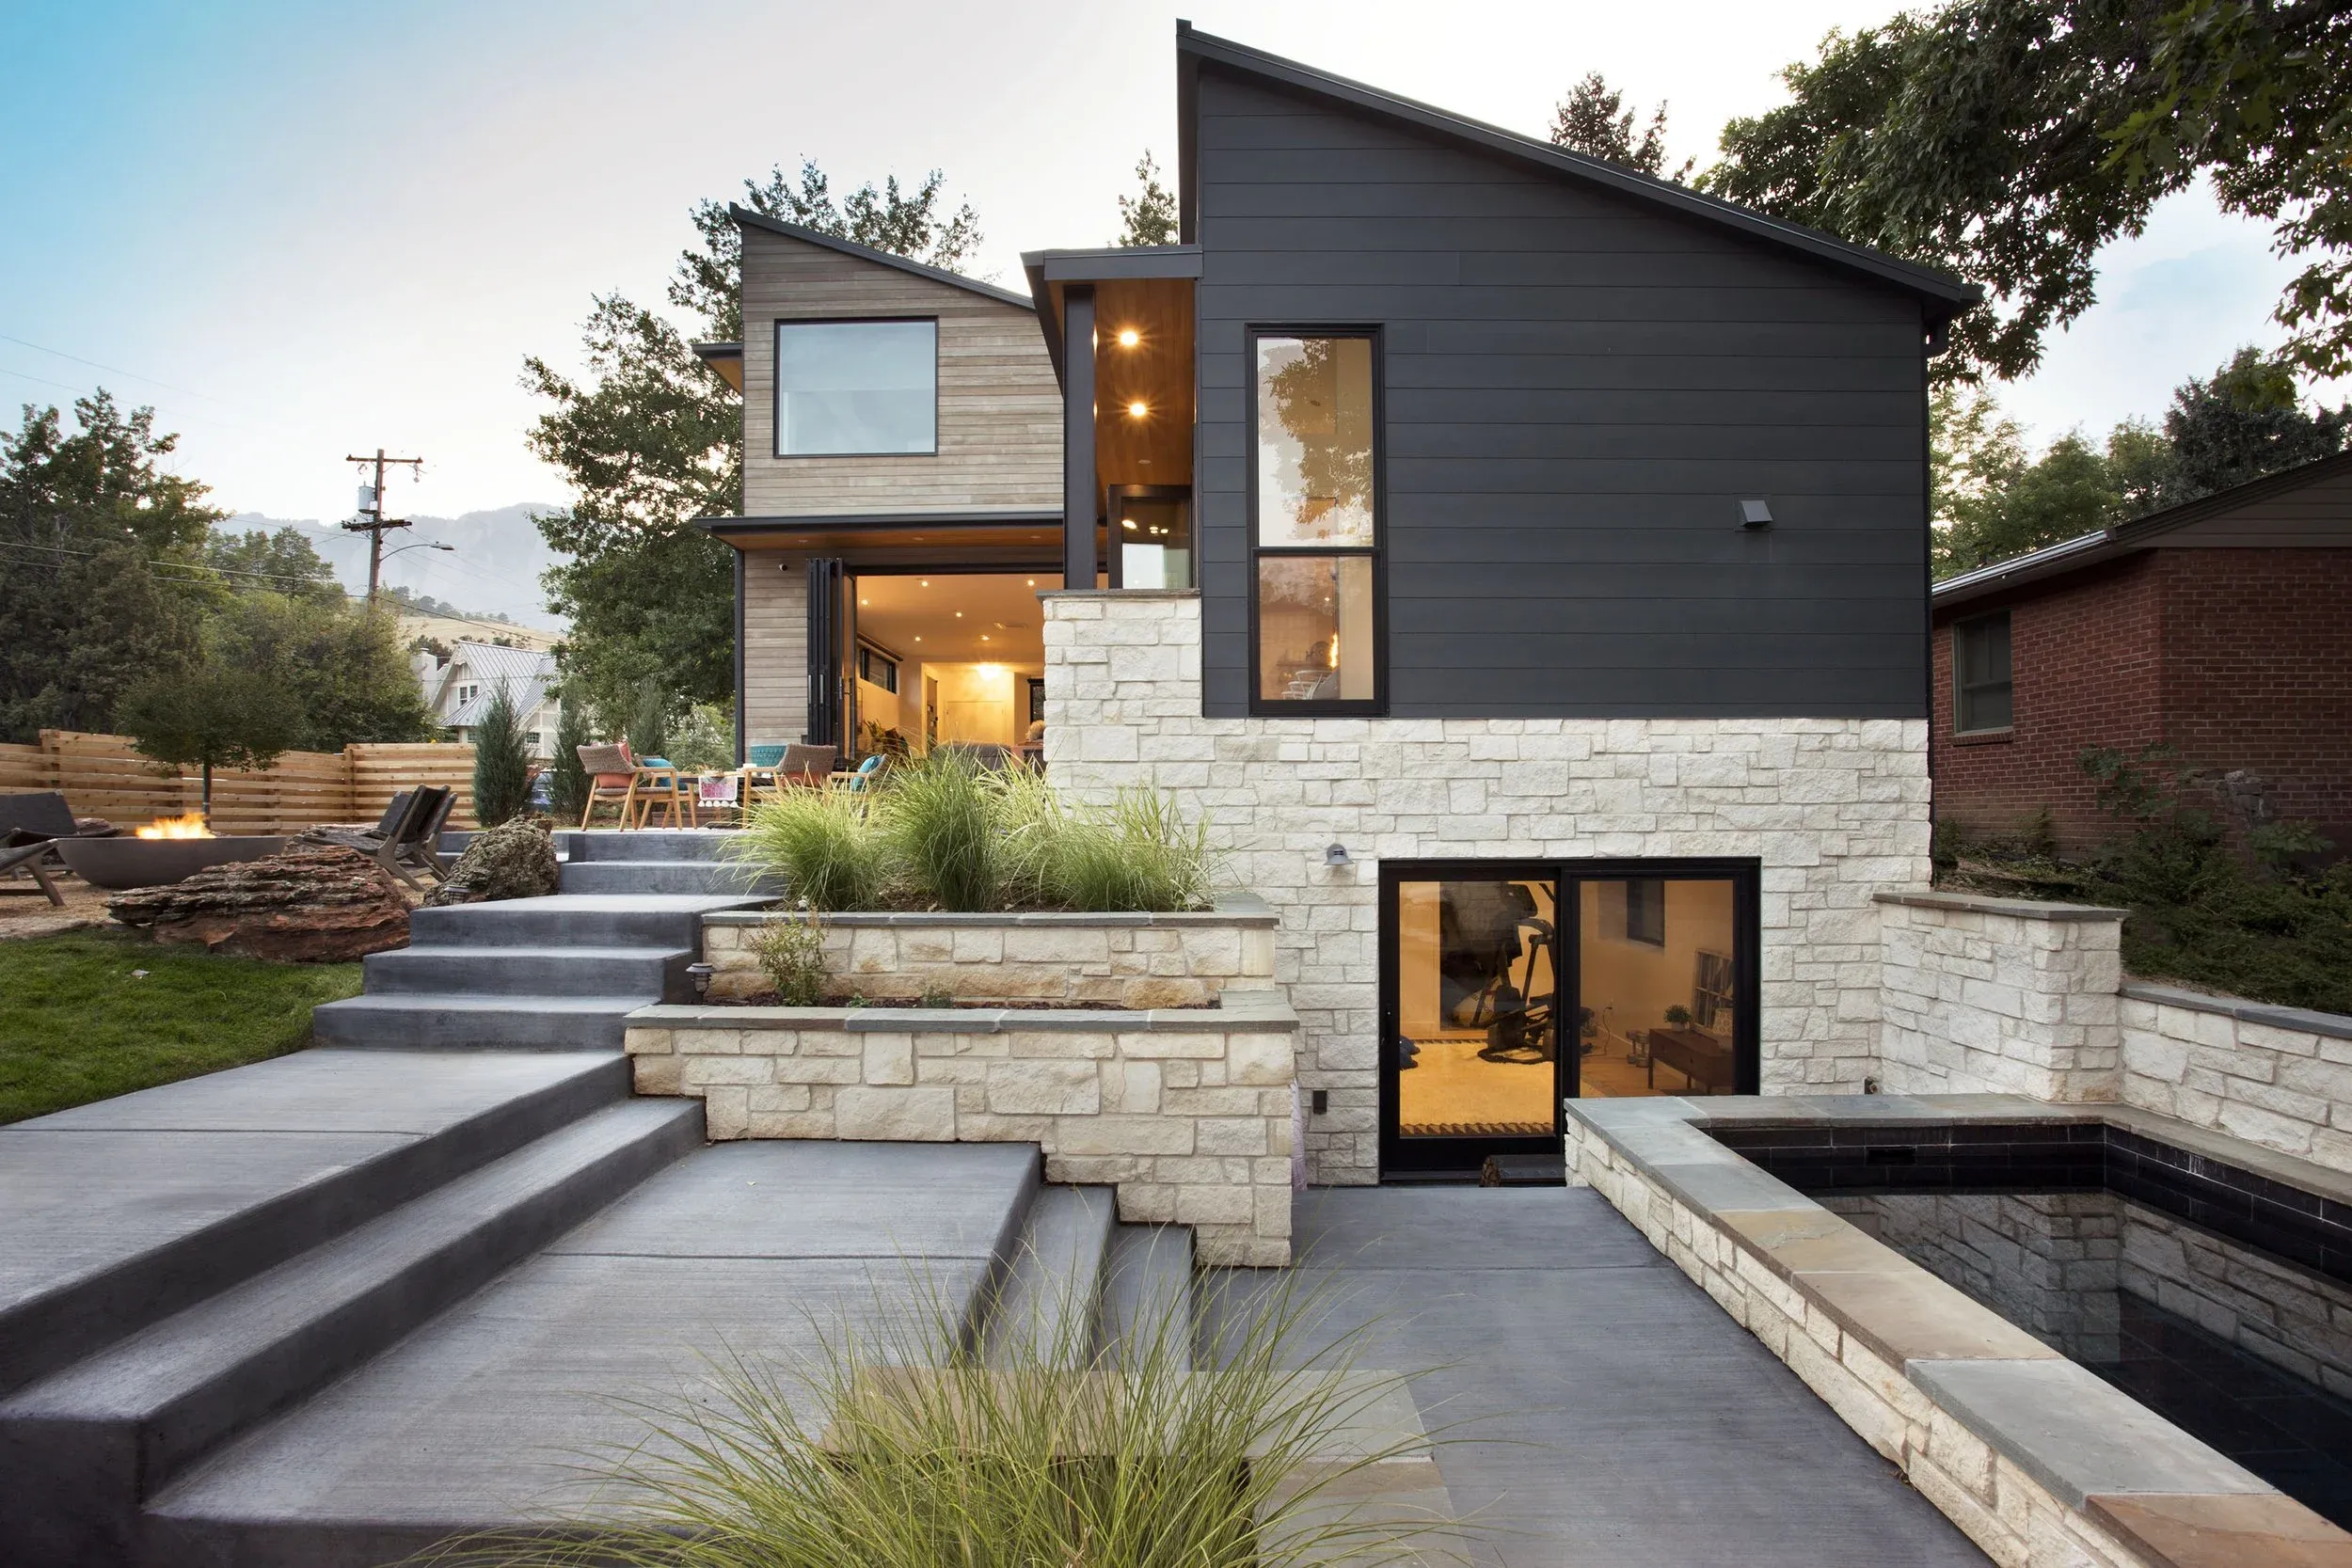
The dig. How deep depends on the look you want. Flush with the patio means excavating nearly the full pool depth. The most popular choice is a raised install with about 18 inches of pool standing proud of grade, which turns the pool into a focal point and gives you a built-in place to sit. And because the shell is fully self-supporting, there is a third option: almost no dig at all. Set the pool on a prepared pad at grade and build a deck around it. No lateral support, no retaining structure, the pool just stands there on its own.
The base. Under the pool goes a minimum of two feet of compacted 3/4-inch crushed stone, typically over landscape fabric, compacted and laser-checked level. This is the part of the job where our dirt-work background earns its keep: in North Texas expansive clay, the base is the install.
Drainage. Water needs somewhere to go. On lots with fall, we run daylight drains away from the excavation. On flat or wet sites, a sump system does the same job. Either way, the pool never sits in a bathtub of clay-trapped water.
Step 2: crane day
The pool ships on a flatbed, and getting it from the street to the hole is a rigging job with three standard tools:
- Boom truck. The workhorse for sets within about 15 feet of where the truck can park. Usually the most economical pick.
- Crane. For everything farther, including flying the pool over the house. A single-story roofline is routine crane work; the crane size (and cost) scales with the reach.
- Telehandler. The tight-access specialist. For narrow driveways and skinny side yards where neither of the above fits, a telehandler rig walks the pool in.
The pick itself uses the four cast-in lifting rings and a spreader bar at least eight feet wide, so the chains never side-load the walls. The pool flies, hovers, and settles onto the stone base. Then comes the quietly clever part of the leveling process: instead of fussing with instruments on a wet shell, the crew sets a level on a tile grout line inside the pool. Water is always level, so if the grout lines are level, the waterline will be too, all 13 feet of it.
Total elapsed time with the pool in the air: minutes. Total crane day: hours.
Step 3: the buildout
For a raised install, the exposed pool walls get a structural buildout: concrete block or a poured apron around the shell, backfilled tight with stone, then finished in whatever veneer matches your yard. Stone, stucco, board-formed concrete, tile. The pool walls are four inches thick at the top (six with the insulation package that comes with a heater), and the buildout is sized to carry your coping, typically 18 to 24 inches of it, so the finished edge reads like a custom masonry pool rather than a dropped-in unit.
If you chose an automatic safety cover, its housing needs a poured concrete support at one end. That gets formed into the buildout, and the coping above it stays removable for service. Most of our customers also spend the extra few dollars on the hidden skimmer lid, which replaces the white plastic skimmer cap with a cutout of your actual coping material. Small detail, big difference in the finished look.
Step 4: hookups and inspection
Equipment. Everything that runs the pool (variable-speed pump, cartridge filter, salt system, heater, automation) lives on a 4’×6’ equipment pad, on crushed stone or concrete. The pad can sit anywhere from 10 to 90 feet from the pool, which gives us real freedom to tuck it out of sight. Two placement rules we design around: the heater vent needs four feet of clearance from any door or window, and if the pad needs to be farther than 90 feet, the pool light wiring gets extended at the factory, so we lock pad location before the pool ships. Indoor equipment rooms work too, with the proper vent kit.
Electrical. The shell arrives with bonding lugs tied to the internal rebar and copper bonding wire coiled at each corner. Our electrician extends those up before backfill, ties in the bonding grid, and lands everything on a pre-wired, pre-labeled panel.
Inspection. The ETL listing matters here. The pool carries its ETL sticker on the shell, and city inspectors who want to verify the listing can read it right off the pool before backfill. We schedule that inspection window into the install so backfill never has to wait on a mystery.
Then: backfill, plumbing connections, fill, start-up, water chemistry. Swimming.
The timeline, honestly
The pool spends about two months in production at the Soake plant. That sounds long until you hear the two features attached to it. First, Soake will store your finished pool for up to six months at no charge and ship it the day your site is ready, so the pool is never the thing holding up your backyard project: the pool waits for the yard, not the other way around. Second, while the pool is in production, we do all of step 1, so the site and the pool finish at the same time.
On-site, the whole sequence above, from first excavator bucket to first swim, is measured in days. Compare that to the 8 to 16 weeks a gunite build spends as an open construction site in your backyard, and the math on your summer changes completely.
Start with the free site check
Every install starts the same way: you give us an address, we measure the lot from satellite, and we tell you which of the three rigging options your yard needs before you spend a dollar. Request the free crane access and site assessment, request a site walk, or call 817-803-1445 and ask us the 23,000-pound question. We have the answer for most DFW lots within a day.